The Mountmellick stitch is the new-to-me stitch that I’m all excited about. I didn’t find a step-by-step in a quick search of the web. I’m still not able to access Needlecrafter’s so perhaps it is available there, for any of you who are able to use that site. I’m still hopeful that this is a temporary situation or that only my browser is at fault.
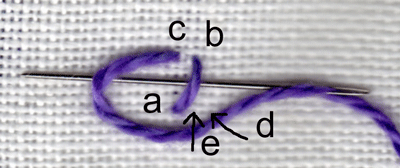
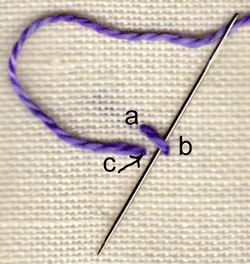
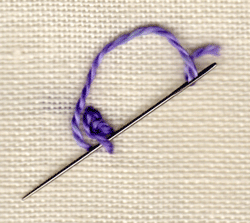
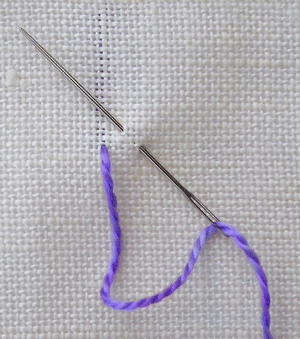
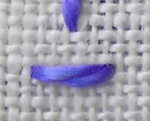
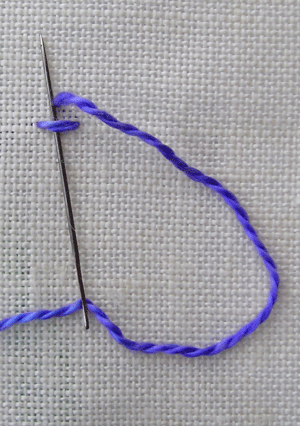
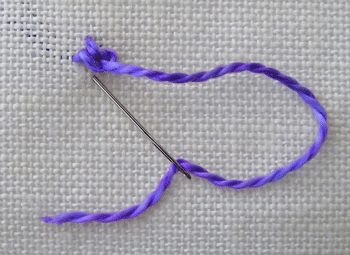
To start this stitch make a small diagonal stitch “a-b” and then bring the needle up at “c”. Then as shown below, slide the needle under the stitch “a-b”.
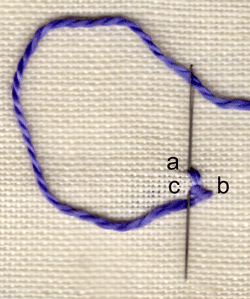
Now pull the thread though until its snug against the diagonal stitch “a=b” but not distorting it. (I have to say my sample here looks like it is distorted but I think it’s because I’m using the scanner and laying this against the glass that has caused the distortion seen here.)
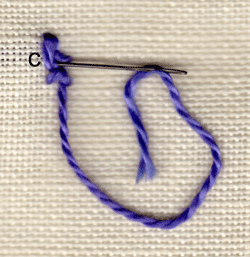
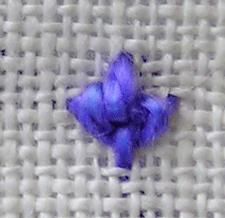
Now reinsert the needle as pictured below to make a vertical stitch “a-c”.
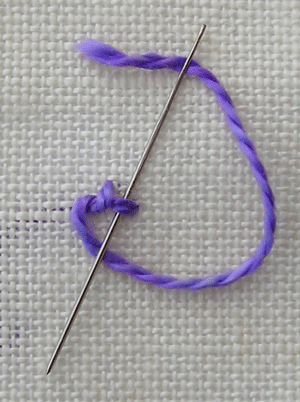
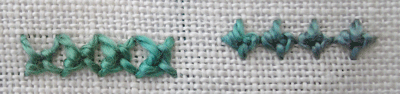
Now this next picture shows starting the second stitch. Everything is done as in the first stitch. But because there is a little trick to the final part I’ve decided to show this second stitch through to that point.
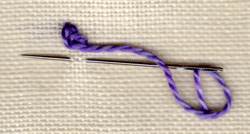
Below is the tricky part and it was hard for me to get a good shot at this. To make this vertical stitch go back to “c” and reinsert the needle inside the loop made as you went up to make the last vertical stitch at “a-c”. This means the needle will be inserted between that loop and the little loop over the slanted stitch at “a-b”. This is easy to see, I think when actually doing it yourself. Once this is done now move on to complete the second stitch as shown in the second photograph for the first stitch.
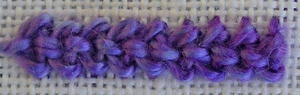
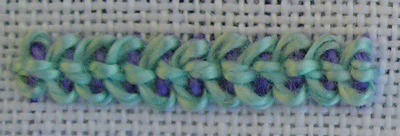
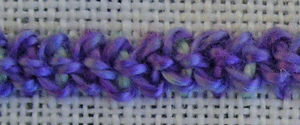
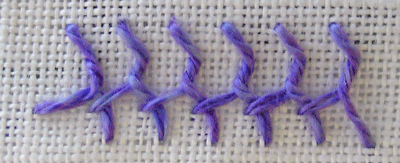
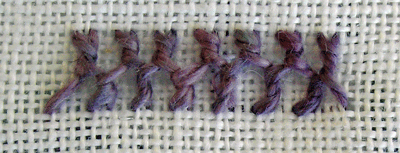
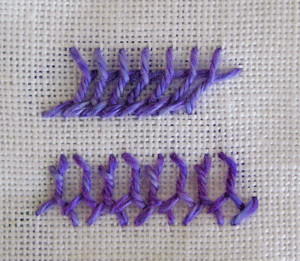
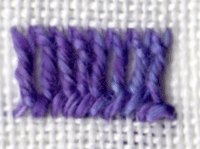
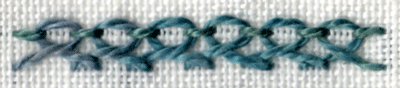
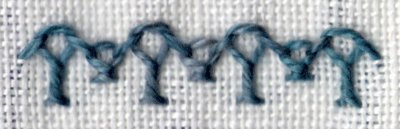
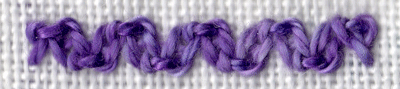
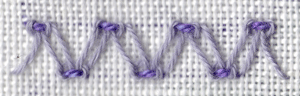
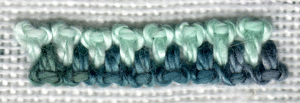
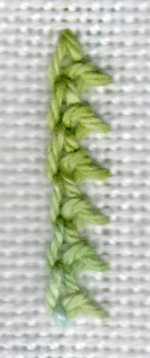
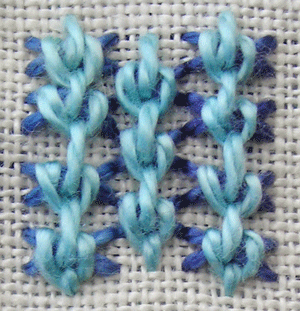
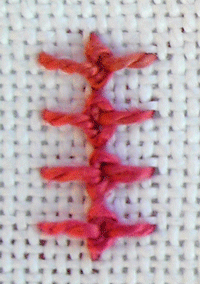
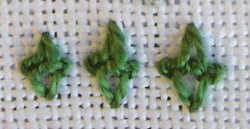
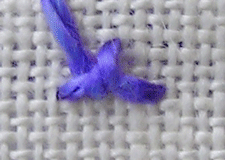
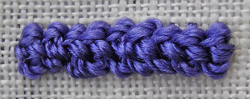
A very plain sample.
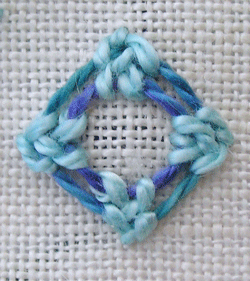
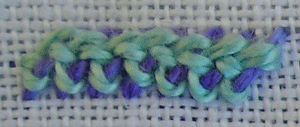
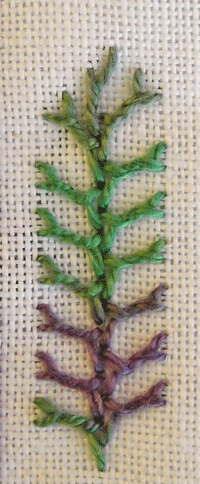
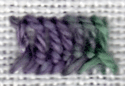
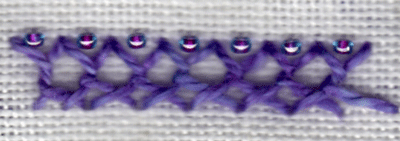
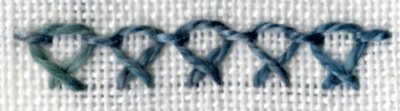
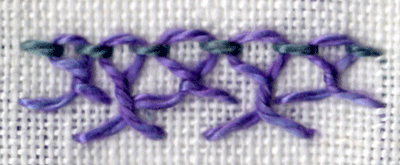
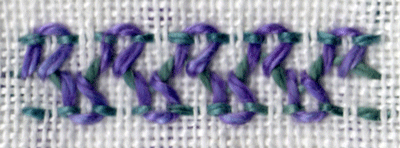
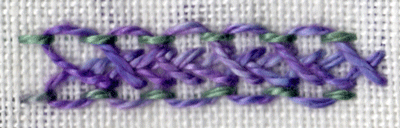
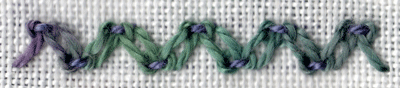
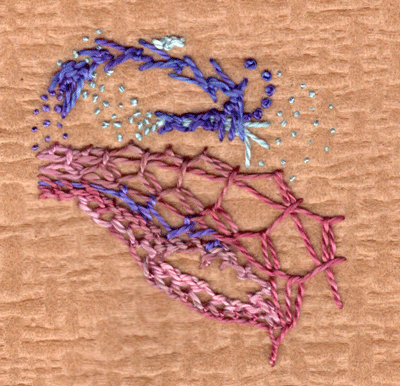
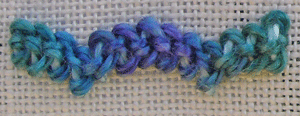
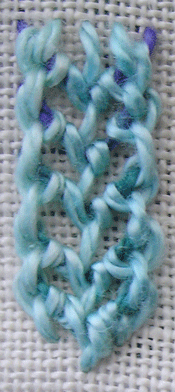
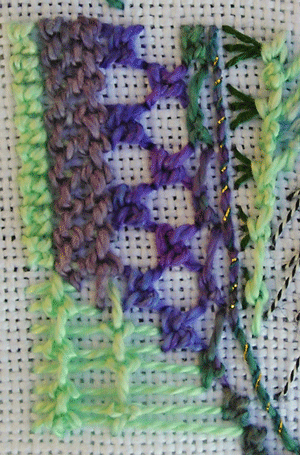
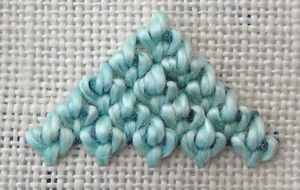
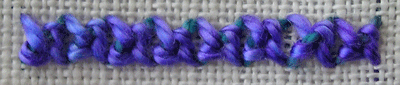
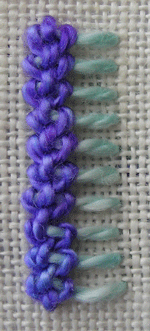
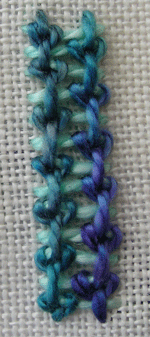
Below is an “off grid” doodle using some of the recent stitches I’ve been working with including the Mountmellick stitch. In this piece I’ve used it in two over lapping, horizontal curved lines below the top area of purple and light blue threads.


 Posted by Elizabeth
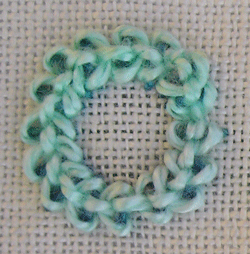
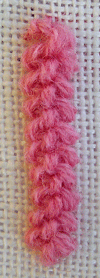
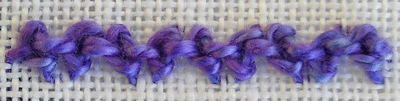
 Three ply pima cotton
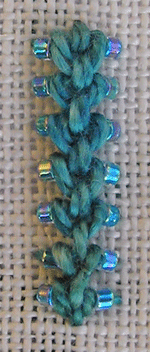
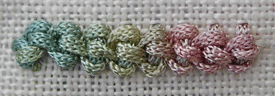 A narrow knitted ribbon